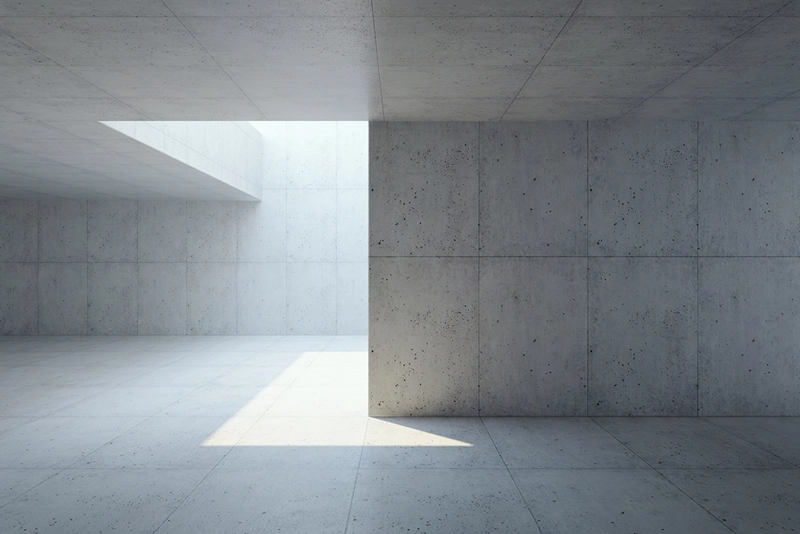
Fiberglass insulation is one of the most popular and efficient options for insulating your home or building. It is not only economical but also has excellent thermal performance, which contributes to maintaining a cozy indoor climate. This blog will walk you through the steps necessary to successfully attach fiberglass insulation to concrete walls.
What is Fiberglass Insulation?
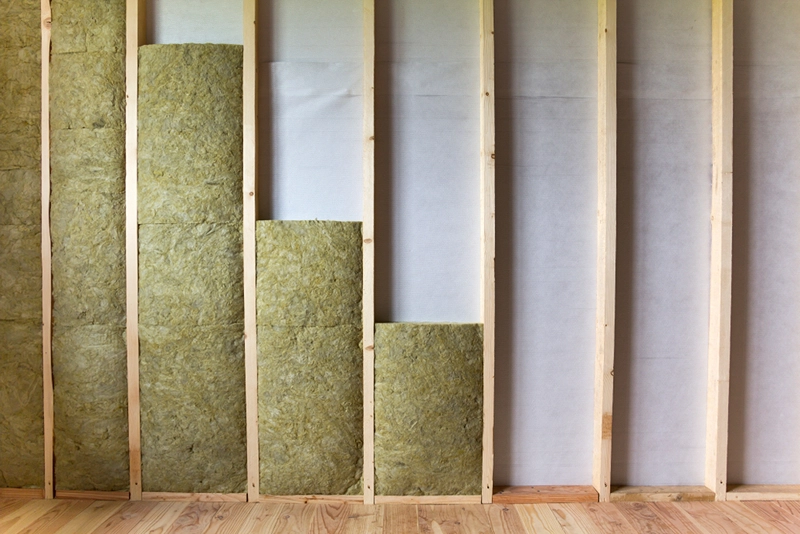
Fine glass fibers that are compressed into rolls or batts make up fiberglass insulation. These fibers produce air pockets that slow the material’s ability to conduct heat. Because of this, fiberglass insulation effectively reduces heat gain in the summer and heat loss in the winter.
Why is it Used in Buildings?
Due to its many benefits, fiberglass insulation is frequently used in buildings. Since it is non-combustible, it won’t burn easily. It is also simple to install and doesn’t need any special tools. The durability and moisture resistance of fiberglass insulation are additional qualities that guarantee long-lasting performance.
Preparing for Installation
Make sure you have all the required tools and materials before you begin the installation process. Usually, the equipment consists of a utility knife, a measuring tape, safety eyewear, gloves, and a dust mask. You will also require a caulk gun, a straightedge, and adhesive made for concrete walls.
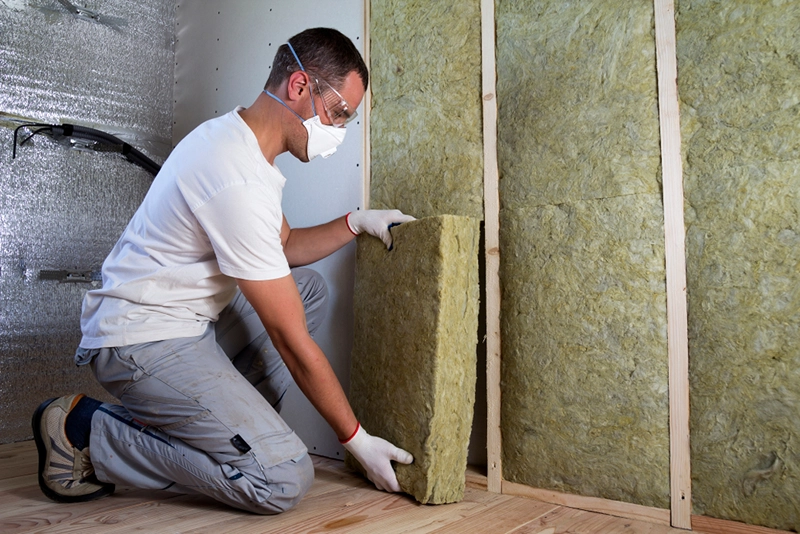
During installation, safety precautions are crucial. To prevent fiberglass irritants from irritating your hands and eyes, always wear safety goggles and gloves. In order to avoid breathing in any airborne fibers, a dust mask is necessary.
Steps for Attaching Fiberglass Insulation to Concrete Walls
Here are some steps for attaching fiberglass insulation to concrete walls:
· Clean the Wall Surface
Make sure the concrete wall surface is spotless and free of dust and debris. The adhesive will bond with the concrete more successfully on a clean surface.
· Measure & Cut Fiberglass Insulation
Using a utility knife and a straightedge, calculate the wall’s dimensions and cut the fiberglass insulation batts or rolls accordingly. To allow for expansion, make sure to leave a tiny gap at the top and bottom.
· Apply Adhesive
Apply the adhesive uniformly to the fiberglass insulation’s back using a caulking gun. To avoid messy installations, be generous with the adhesive but refrain from using it excessively.
· Attach the Insulation to the Wall
Make sure the fiberglass insulation is completely in contact with the adhesive by pressing it firmly against the concrete wall. To improve the effectiveness of the insulation, remove any wrinkles or air bubbles.
· Secure with Fasteners (Optional)
Use fasteners like nails or staples to further secure the insulation for increased security. Avoid over compressing the insulation, though, as this can lessen its effectiveness.
· Insulate Corners & Edges
To ensure complete coverage, pay close attention to the corners and edges. If necessary, cut off any excess insulation, and use caulk or specialized insulation tape to fill in any gaps.
Best Practices for Effective Insulation
The following best practices should be taken into account to maximize the performance of your fiberglass insulation:
Ensure Proper Coverage
The installation of fiberglass insulation must be completed without any gaps or voids. The thermal performance of the insulation can be harmed by even tiny gaps. Make sure the insulation is installed correctly and completely covers the wall surface, leaving no gaps.
Dealing with Obstacles
You might run into obstructions during the installation process, like pipes, electrical outlets, or other fixtures on the concrete wall. To fit around these obstructions, the insulation must be carefully cut. Use a utility knife to make precise cuts after carefully measuring and marking the insulation. As a result, heat transfer around these obstructions is reduced and the insulation is guaranteed to maintain continuous coverage.
Avoiding Moisture Issues
Insulation performance and longevity may suffer as a result of moisture. It is crucial to use a moisture barrier, such as a vapor retarder, between the concrete wall and the insulation in order to prevent condensation and moisture buildup. The vapor retarder serves as a barrier, preventing moisture from entering the insulation through the wall. For advice on the right kind of vapor retarder and where to put it in your building, take a look at your local building codes or speak to an insulation expert.
Sealing Gaps & Joints
To reduce air leakage, insulation should be installed firmly and tightly. Carefully examine the installation and caulk any openings or seams where the insulation meets other pieces. To fill in any gaps where the insulation meets other materials, such as windows or doors, use caulk or specialized insulation tape. This ensures the best possible thermal performance by maintaining the insulation’s integrity and preventing air infiltration.
Consider Additional Insulation Measures
You might want to think about adding more insulation depending on the particular requirements of your building. Insulating the rim joist area, the foundation walls, the attic, or the roof may all fall under this category. These extra insulation measures can help your building’s overall insulation performance and increase energy efficiency.
Conclusion
Fiberglass insulation can be attached to concrete walls in a relatively simple manner, which can greatly increase your building’s energy efficiency. You can achieve the best insulation performance and improve the comfort of your home by following the instructions in this article and taking into account the best practices.